How to Launch your Website in 1 Week with WordPress – HostNamaste
Launching a website is easier than ever. It may seem like a mountain to people who have just gotten into online marketing, but nothing further. Thanks to CRM managers like WordPress and tools like DIVI, the whole process (web design and programming) is easier than ever.
I want to tell you that your hosting does play a very important role in getting your website up and running fast, you can always rely on hostnamaste for your hosting needs as they are the one’s that help you through your downtime and wordpress security breaches. 🙂
Let’s dive into how to launch your own website fast reliably
Launch your Website in a 1 Week with WordPress in 5 Steps
We are going to structure the information in steps, so that you can follow them little by little. If you do, in a few days you will have the website working at full capacity. Logically, a website can take as long as you want it to be, skimming through each and every detail but I will suggest you just jump to it, you can’t learn swimming sitting ducks right ?
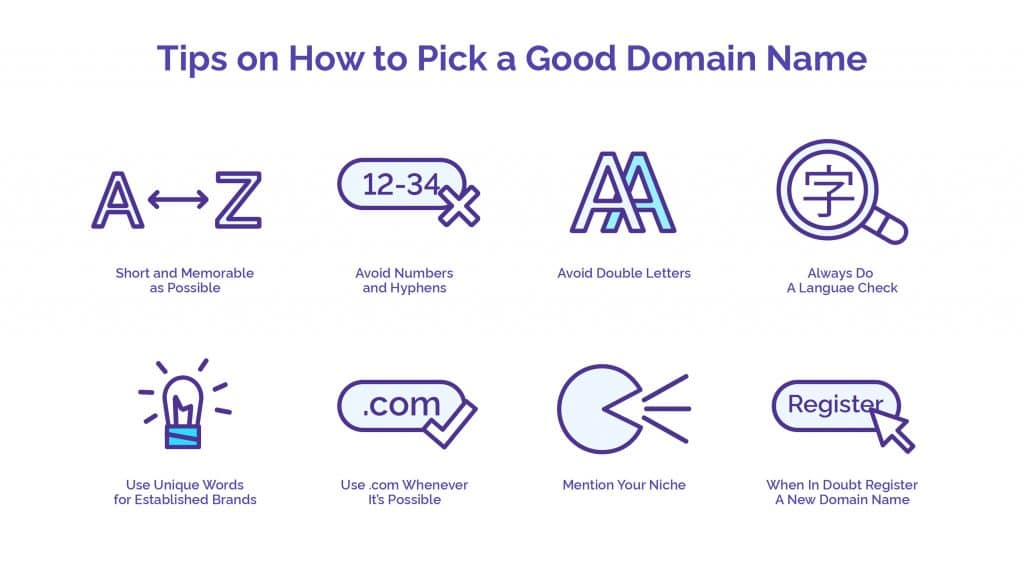
#1) Buy your Domain and Sign Up for a Hosting
There are many domain registrars and companies that can host (hosting companies) your website.
The domain is the web address through which you want to be found: www.myname.com , www.businessname.com , etc.
Hosting is the virtual place where your website will be hosted . When you buy it, you are “renting” a space of 1 GB, 2 GB or whatever you are willing to pay. If you are going to start with a small website, you can check out the shared hosting plan of hostnamaste, with pricing starting at just under $2 per month.
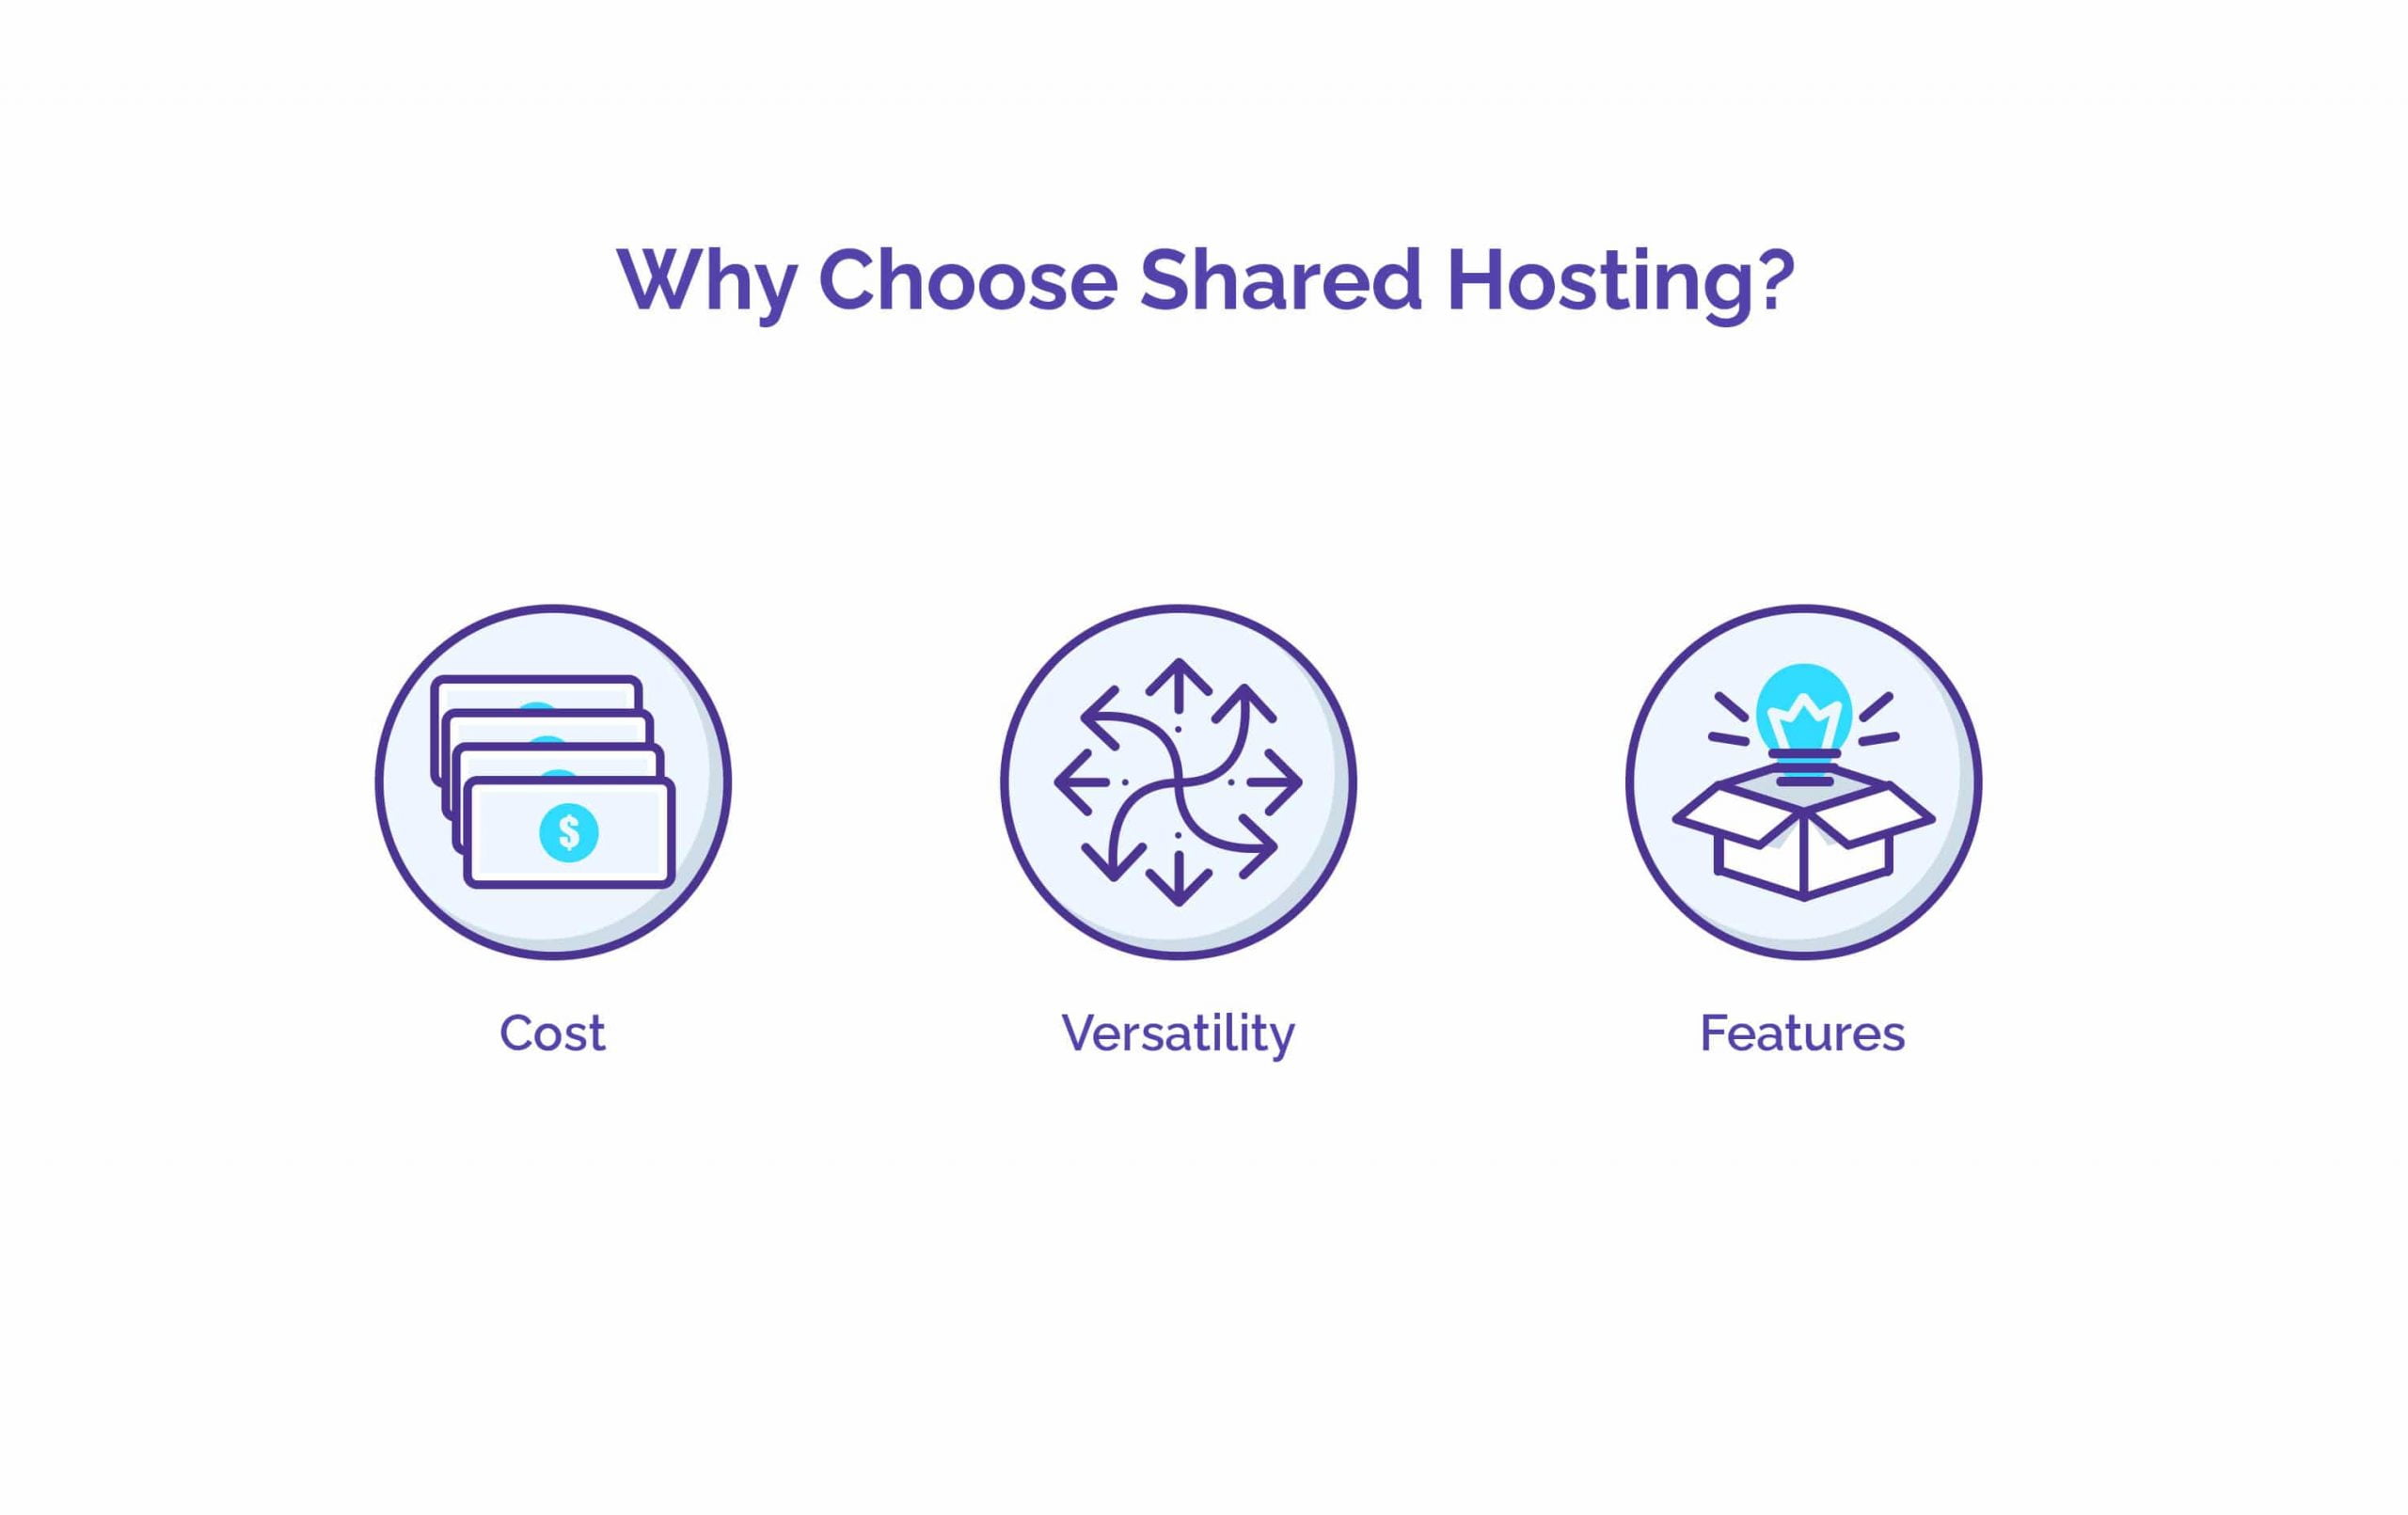
In addition, we have budget dedicated servers for experienced webmasters, which is even easier to use. And as if this were not enough, we have dedicated xeon, AMD and intel core servers. Our dedicated servers starts with just $29.99 per month.

Another important point when selecting your hosting is that they have good customer service. I recommend you to choose a hosting that can resolve your issues at the minimum time, through tickets 24/7 and are willing to help resolve all the issues.
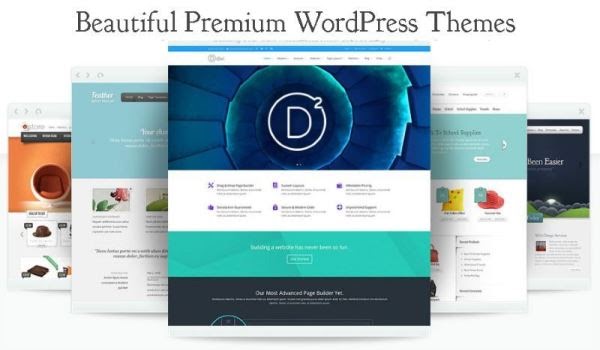
#2) Buy a Theme or Design the Web Yourself
Here you have two options:
- Buy a simple theme with some functionality and then edit it with a visual editor
- Buy a complete theme ready to go
The second one will cost you a little more money, and the first one considerably more time.
As for difficulties, don’t worry about the visual editor. There are several available options to choose from, and if I have to choose I will definitely choose DIVI. It is very simple to use, very intuitive and is designed for those of us who are neither designers or programmers . I know I’m talking about this wordpress theme again, but it is without a doubt the best for me. Or you can try using Astra as well, it is also a very good option.
You can dynamically drag elements, change characteristics, duplicate pages, insert pre designed elements, modify sizes, attributes, colors … I don’t know, it seems like a very complete tool .
But let’s get to the technical first: be that as it may, you’ll have to choose a theme . There are more themes available that are complete and you will not have to use a visual editor or elementor, and others that give you the “skeleton” of your website so that you can later model it as you want with DIVI or astra for example.
You can buy complete themes in places like Elegant Themes, CPO themes, Webibazaar, Templatemonster, Themeforest … Search for “buy theme”, “buy template”, “buy wordpress template” or something similar and see the amount of options you have.
To install the template you buy, whether it is complete or more minimalist or you have opted for options such as Generate Press , you just have to follow these steps:
- Access your hosting
- Install WordPress on your domain (in a very intuitive way, don’t worry, the hostings take care of making it easy for you)
- Access your WordPress (mydomain.com/wp-admin, and then enter your username and password)
- Appearance / Themes, and there upload your theme. Your template will be compressed in a .rar or .zip file, which you can upload directly to WordPress and unzip automatically. Wait a few seconds and that’s it.
When you have the theme installed, if you decide on the option of complementing it with a graphic editor, it will take time and effort. So choose your theme with utmost sincerity and I will suggest reading the complete documentation to understand the theme’s capability completely.
The above steps can be ready within an hour.
When you register a domain and point it to your hosting, let’s say it takes some time for everything to be in order. DNS propagation etc. The DNS propagation can take anywhere between 8 hrs to 48 hrs , you can utilise this time to get that perfect theme and get your website together.
If you work with a graphic editor type DIVI or Elementor you can easily do some things like these:
- Insert blocks such as boxes, texts, tables, photos, icons …
- Add paragraphs and format texts
- Change the look of everything you insert. Column size, line thickness, photo shadow, text color, logo layout, etc. EVERYTHING is editable
- Create and organize menus
- Create and manage the web footer
- Add links to your liking
- Mount a sidebar
- Do a good SEO optimization (this is beyond design)
- Insert forms and connect them to your email accounts
#3) Fill the Content as you wish
You have the design , and wherever you look you never stop seeing “Lorem ipsum”. It is a standard text that you will have to edit in all cases so that the web transmits everything you want users to know about your site.
Here you will have to use the editor: go to each block that you have added and write the text that it touches. If you have chosen a complete theme and ready to go, the text will have to be edited from one site or another, depending on the template you have purchased.
In any case, it is a fairly intuitive process: you will only have to worry about getting what you write right, do a good SEO optimization of the content and give it a proper format: will you use bold? H2 headings? Colors? What sizes? They are rhetorical questions, because the answer to all this is “yes, of course.”
#4) Get your Website Operational
Now that you have your website’s basic layout ready, you need to configure different tools in your website like the contact forms so that your readers can reach you out. You can configure it using many Free SMTP Providers out there like the sendinblue, elastic email etc.
What you will have to do is configure them, so that when someone sends you a message through it, they will reach you directly to the email you choose .
If you are going to use subscriber mailing lists , you will have to use tools such as SendinBlue (which I like a lot), Mailchimp, Aweber.
They all have free plans to start with: if you have several thousand subscribers only then you will have to worry about paying.
You can also use these tools to make subscription forms either through using their plugins or short codes, which you can add in your wordpress blocks.
Set up your social media profiles once your wordpress website is all set and connect your social media profiles.
#5) Register it in Google tools: index it!
The last step is to connect it with Analytics and Google Search Console . It is not essential, but it will come in handy to monitor everything that happens when a person arrives at your site.
You will only have to enter the Official Analytics and Search Console websites and follow the steps that show you the way to verify your website. It’s simple: and shall be done within a few minutes by reading their instructions. It is done!
You are ready.
Now you are ready to take your website to google for indeed and crawling.
You can request indexing using the search console or submit your sitemap to get the google to crawl your website fast.
In short: Start Now and Start as soon as Possible!
If you don’t have a website, it’s because you don’t want to. If you have some time, less than a week and for just under €100 you can have your website ready. In the process, you will also learn a lot of things that could be great for you in the future.
I will highly recommend that you try the above mentioned steps to get your website ready and up and running in under a week. If you try it yourself you can surely do it yourself.
Related posts:
 Most Popular WordPress Errors – Common WordPress Errors: Their Causes and Troubleshooting Steps
 8 Ways to Increase Your WordPress Business Conversion Rate-HostNamaste
 How to Scan a WordPress Site for Malicious Code and How to Clean it?
 How to Speed Up and Secure your Website Testing with a WP Reset Plugin – HostNamaste