
There are so many advantages of using a VPN, from having the option to veil your local IP address to having the option to keep away from regional limitations for websites like Netflix to just needing a feeling of security when you browse the world wide web. Public Free VPNs can’t generally be trusted, and running your own VPN server and IP address is the best way to know beyond all doubt that you are secure. The best information is it is easy to set up a VPN server fast, simple, and within a few easy steps.
This script will let you set up your own VPN Server in no more than five minutes, even if you have not used WireGuard at time before. It has been designed to be as unobtrusive and universal as possible. I have tested this script on Ubuntu, Debian, CentOS and Fedora Operating Sytems.
Step 1: Buy a Cheap KVM VPS
Step 2: Login to your VPS or Server via SSH
Login to your VPS or Server via SSH after run the following Command and follow the assistant:
wget https://git.io/wireguard -O wireguard-install.sh && bash wireguard-install.sh
You will be presented with the following screen:
Welcome to this WireGuard road warrior installer!
I need to ask you a few questions before starting setup.
You can use the default options and just press enter if you are ok with them.
What port do you want WireGuard listening to?
Port [51820]: 51820
Enter “51820” and press “ENTER”.
Tell me a name for the first client.
Client name [client]: mitesh.vpn.hostnamaste.com
Enter “mitesh.vpn.hostnamaste.com” (You can enter any other name if you like) and press “ENTER”.
Which DNS do you want to use for this client?
1) Current system resolvers
2) 1.1.1.1
3) Google
4) OpenDNS
5) NTT
6) AdGuard
DNS [1]: 3
Here you can enter “3” and press “ENTER”.
We are ready to set up your WireGuard server now.
Press any key to continue…
Press “ENTER” to continue.
The process might take a few moments to install, and then from there your VPN server will be configured.
Finished!
Your client configuration is available at: /root/mitesh_vpn_hostnamaste_com.conf
Once it ends, you can run it again to add more users, remove some of them or even completely uninstall the WireGuard if required.
Step 3: Download the VPN Configuration File
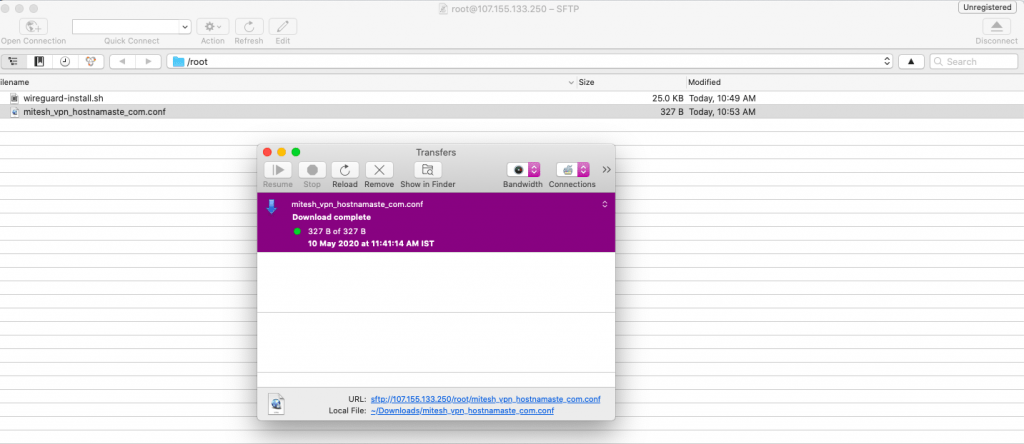
Connect to VPS via FTP Client or Software to Download the VPN Configuration “mitesh_vpn_hostnamaste_com.conf” File, refer to this blog post to download Top 10 Free FTP Clients or Softwares, I am using Cyberduck for this blog post.
Use SFTP and enter your VPS’s IP address, User “root” and password to connect.

Right click on file “mitesh_vpn_hostnamaste_com.conf” and Download it.
Step 4: Download the WireGuard VPN Application
You can Download WireGuard VPN Application from the website.

After right click on “Import tunnel(s) from file”
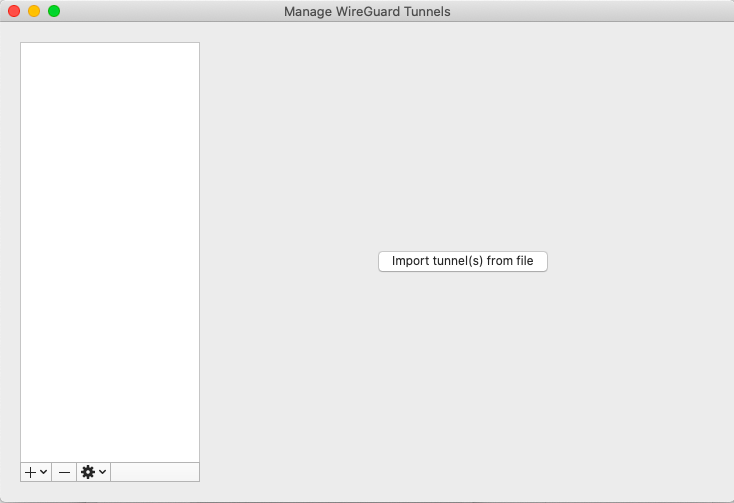
Import the file “mitesh_vpn_hostnamaste_com.conf” and click on “Activate”.
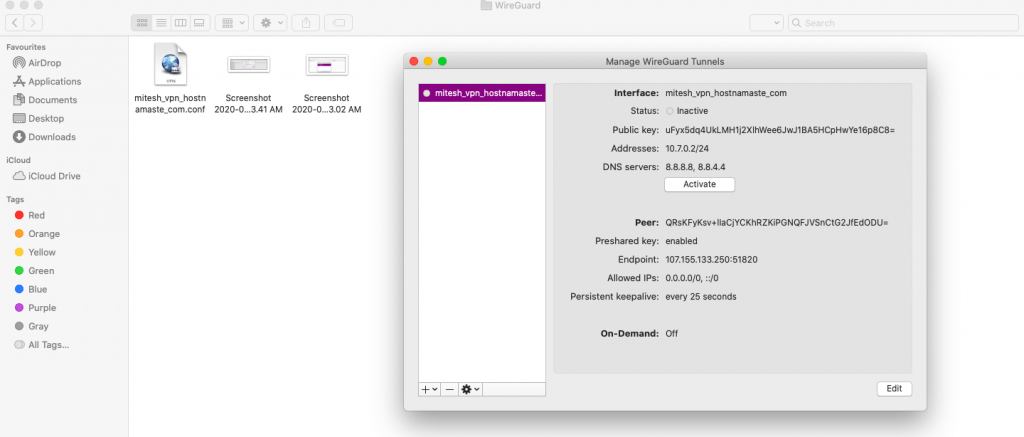
You will see the following screen after activated.

Now you can check your local IP address to ensure that the VPN is working properly or not by opening a Google and write “what is my ip address” to verify.

I hope it was an easy process to set up the WireGuard VPN Server from a VPS.
If you ever run into any issues with your HostNamaste KVM VPS, feel free to reach out to us and we will be more than happy to fix the problem for you. It’s an included service in our 24/7/365 via technical support and VPS management.
Use code 10PEROFF for a 10% Recurring Discount on any KVM Server.


Wow amazing blog, I have followed it and installed it within a 5 minutes, you are awesome, Mitesh. Keep adding more contents like this.
Thanks for the appreciations, Neymar. I am glad to hear it. Definitely I will keep on adding the relevant contents :)
Awesome post, I have followed and started using it :)
Thanks for the appreciations, Michale. I am glad to hear it
Does the wireguard vpn log our activities ?
How to make it so it doesn’t logging the user ip, data,etc ?
The reason we want to host ourselves is to make a true no log vpn.
Very informative post, thank you for adding it. It works out for me.
Thanks for the appreciations, Jochen. I am glad to hear it
Very good site you have here but I was curious about if you knew of any message boards that cover the same topics discussed here? I’d really love to be a part of community where I can get responses from other knowledgeable people that share the same interest. If you have any recommendations, please let me know. Cheers!
Thanks for the appreciation, please look at the Top 10 Web Hosting Forums to take part of communities, forums and discussions.
Fine way of explaining, and pleasant piece of writing to obtain data on the topic off my presentation subject, which i am going to deliver in institution of higher education.
Thanks for liking our content and bookmaking it, Brent :)